I want to practice soldering at a real bench, not just read about it. This is my first time soldering in 20 years, since I took Mr. Osborne’s electronics class senior year at Redmond High School. Sorry to say I’ve forgotten how Ohm’s law actually applies, Mr. Osborne, but I hope you’ll find some consolation in me picking electronics back up two decades later.
The aim is to prepare for IPC-A-610 certification—the visual standard for finished electronic assemblies—and to have work I can look at later, including the mistakes. An online class is planned for December. Until then, I’ll work through the kit and photograph the joints as I go.
Gear
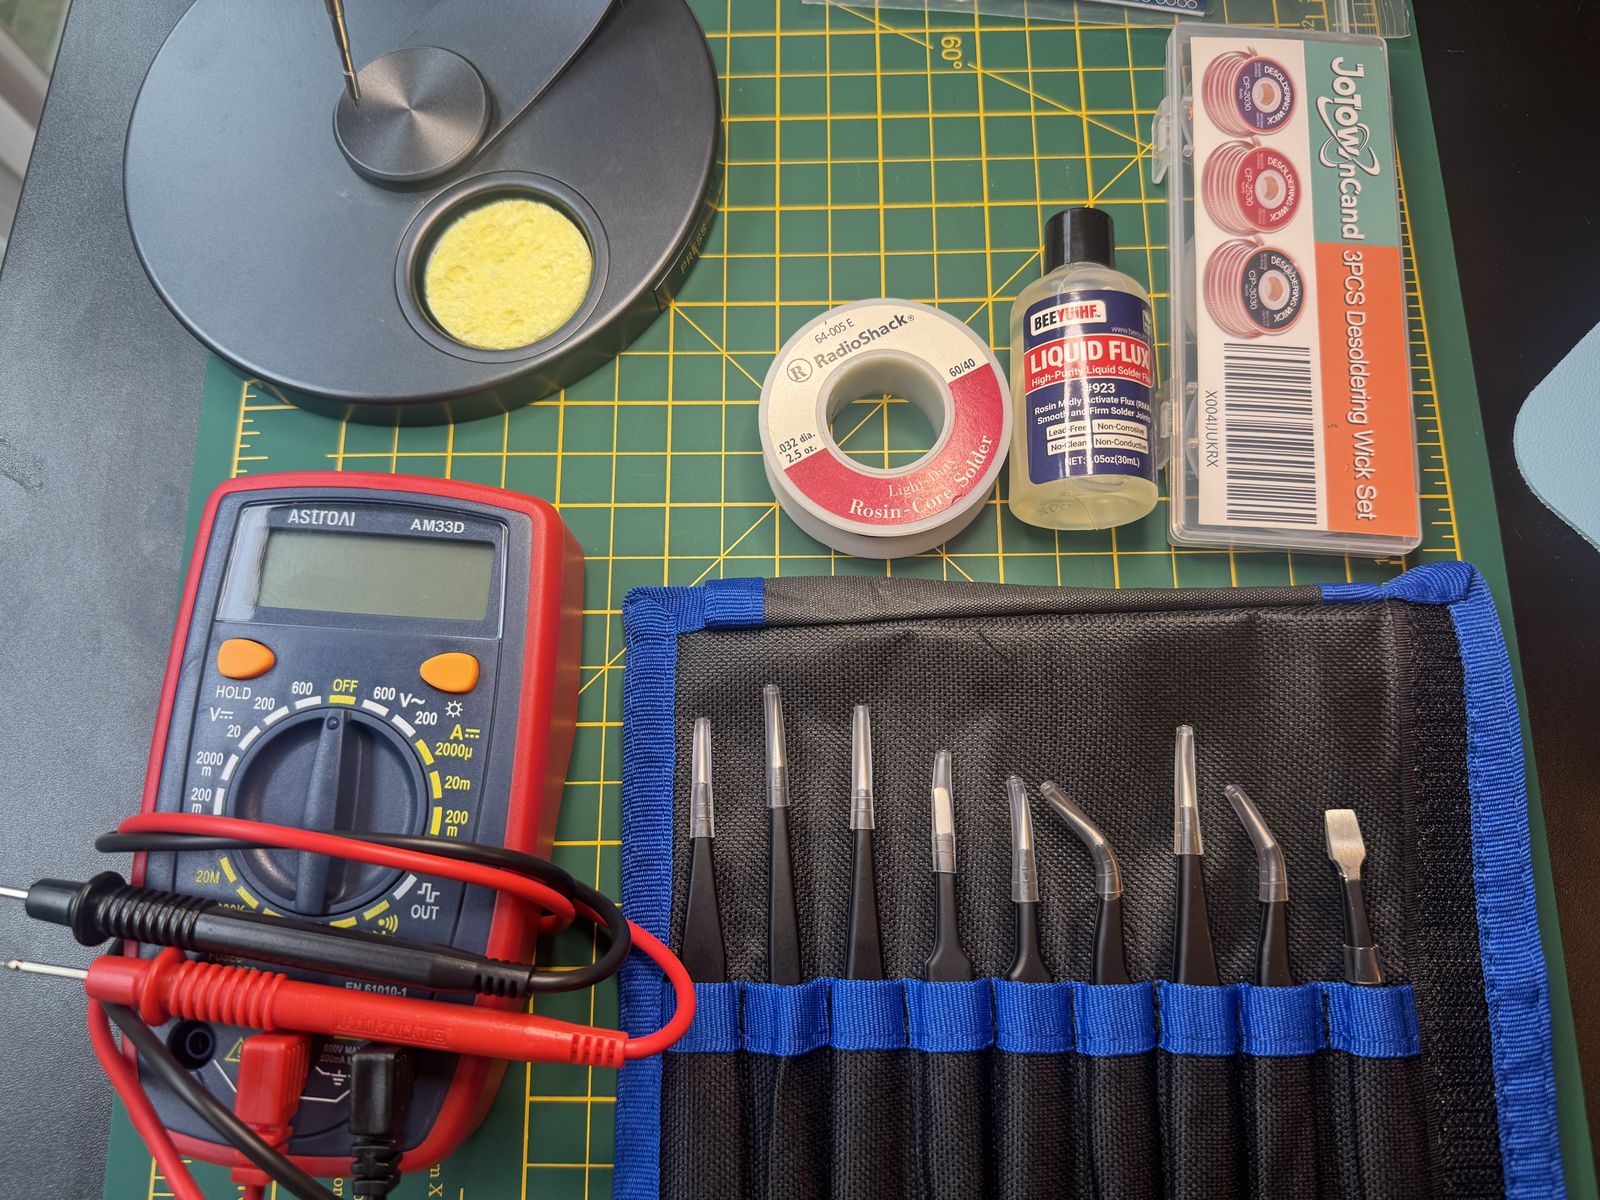
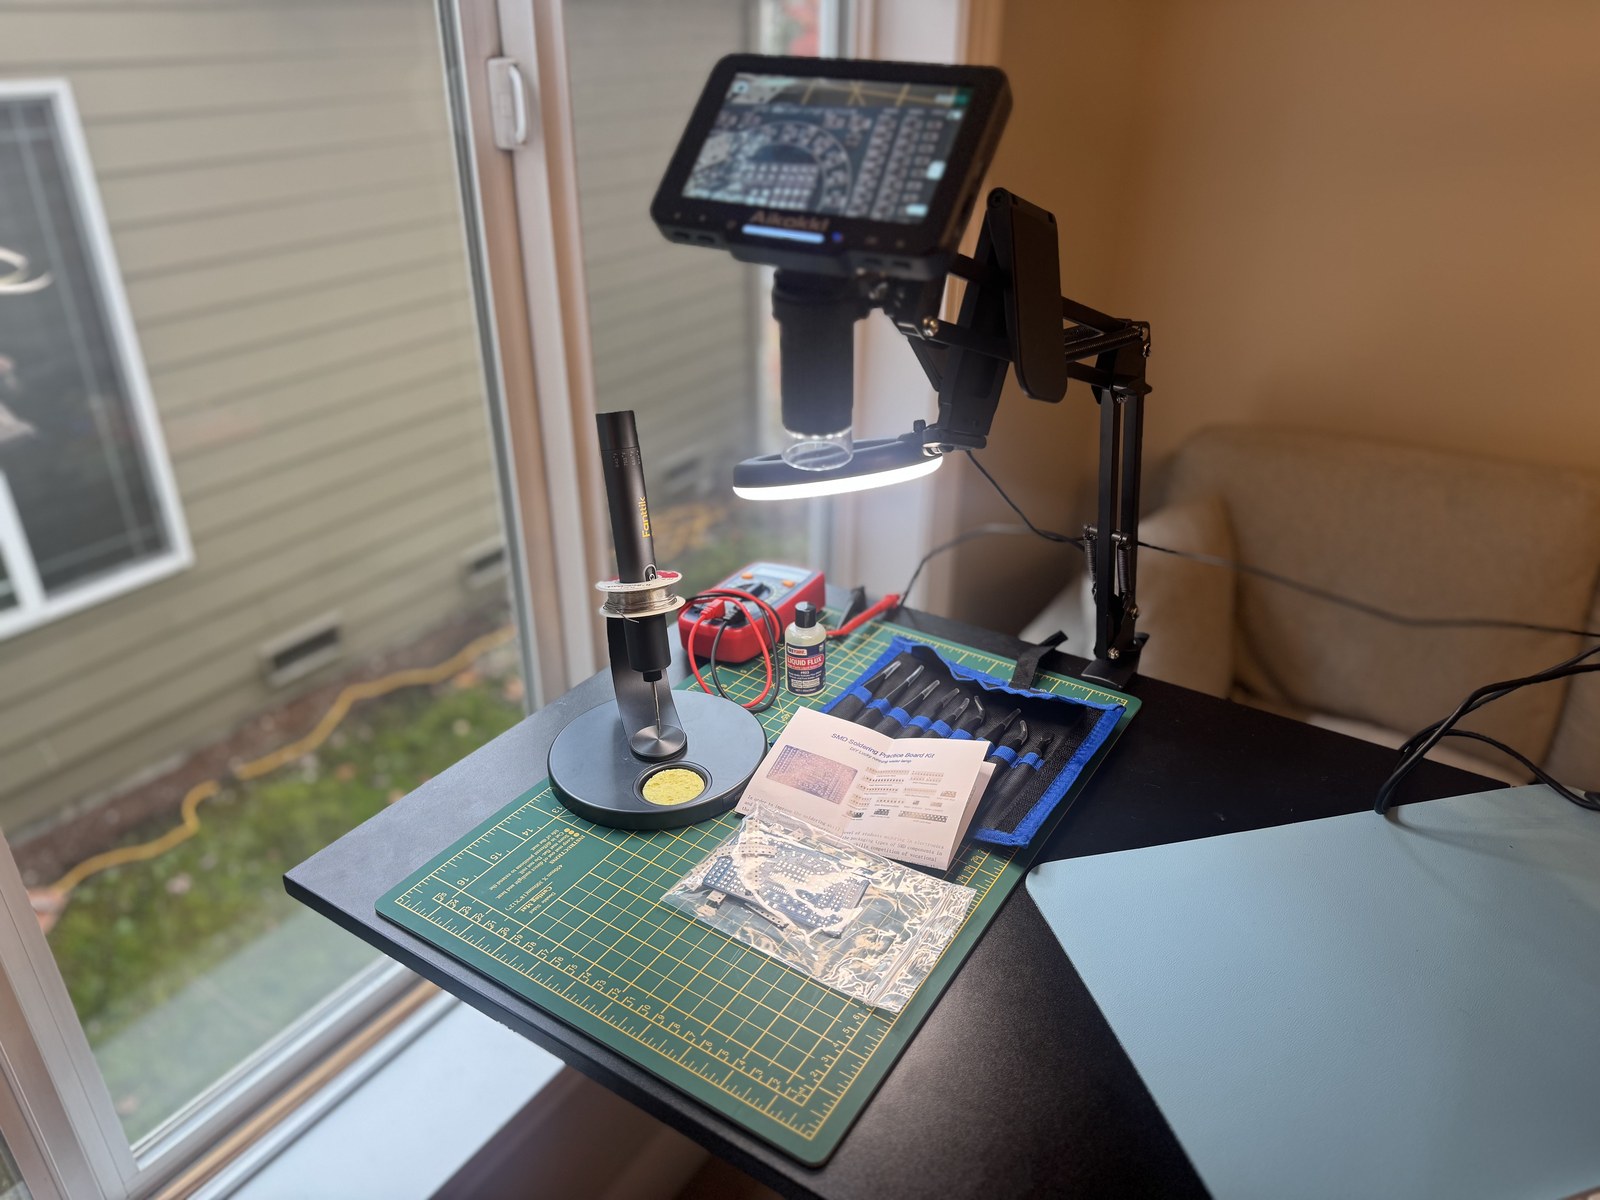
- Fanttik T1 Max cordless soldering iron
- RadioShack 0.032" 60/40 rosin-core solder
- Aikokkl LP050 digital microscope camera
- AstroAI AM33D multimeter
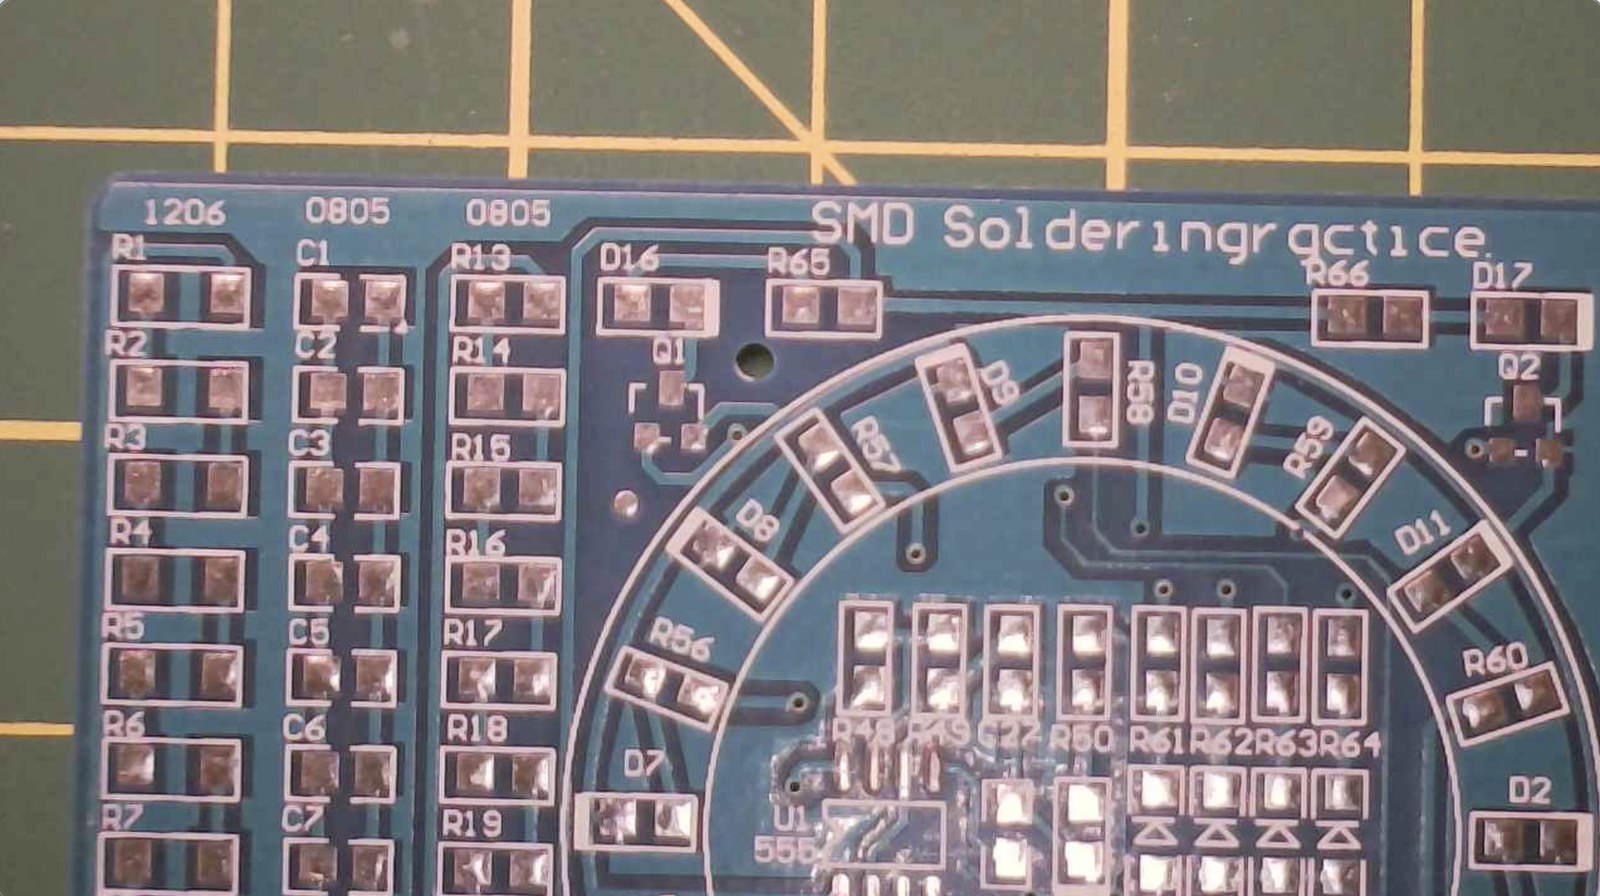
- DZRCOXI three-board SMD practice kit
- Liquid flux, Jotown desoldering wick, ESD brushes, isopropyl alcohol, Kapton tape, and tweezers
- Kaisi S-160 silicone soldering mat
- Lighting, a magnifier, a helping-hands stand, and safety glasses
Through-hole and surface-mount
In high school the parts were through-hole: each lead goes through a hole in the board and gets soldered on the other side. The pads are bigger, the work is more forgiving, and that’s what I remember how to do.
Surface-mount parts (SMD, or SMT for the assembly method) sit directly on pads on the board surface. They’re much smaller, the spacing is tight, and it’s easy to bridge two pads with solder or to have a part stand up on one end—tombstoning. That work needs a steady hand, flux, and magnification. Making SMT my first foray back after 20 years is a little nervy, I’ll admit. If I can get through a practice board without building a tiny solder sculpture, I’ll take it as a win.
What’s next
I’ll start with the DIY Lucky running water lamp, then the other two boards, and use them for IPC-A-610 inspection practice. I’ll add photographs as I take them.